
Reviewed · GREECE
Olympia: The Famous VR Glasses Tour with Audio Guide
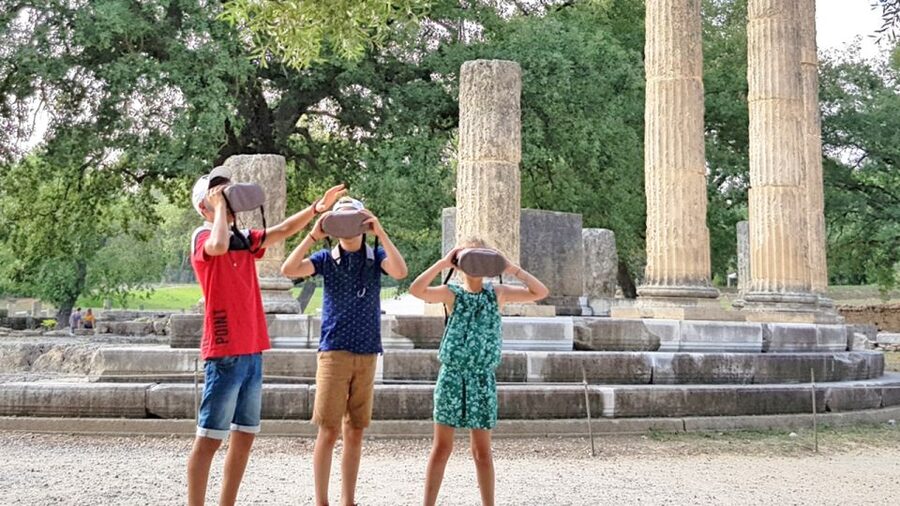
Ancient Olympia is powerful, but many of its buildings are now foundations, scattered stones, and a few columns. The VR glasses rebuild 15 monuments in front of you, showing the Temple of Zeus, the training grounds, and the stadium as active places rather than silent ruins. The audio guide adds short explanations while you walk at your own pace.
I like the freedom to stop for photographs and replay information without keeping up with a group. I also like how well this works for families, since children can see athletes training and racing instead of trying to imagine everything from a signboard. The main drawback is that you must pay the €20 archaeological-site admission separately, and the headset time may feel tight if you also want both museums.
Key points to know before you go
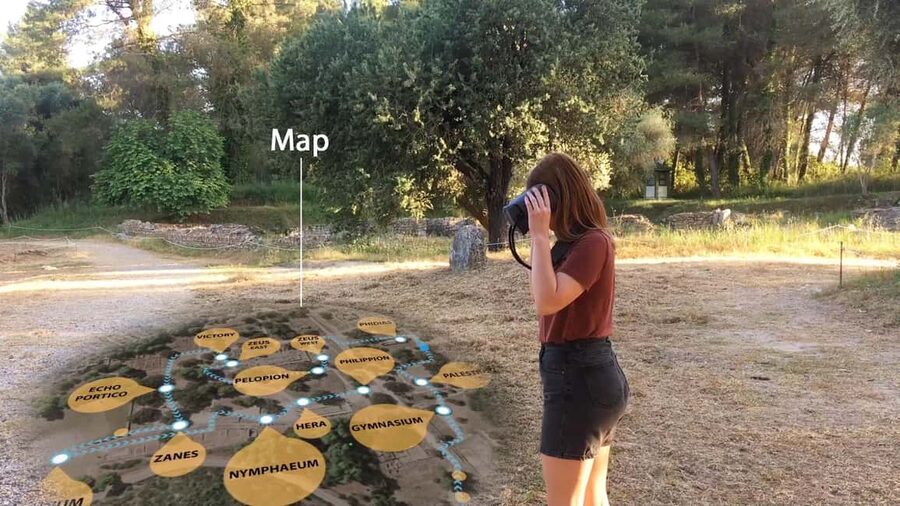
- Fifteen monuments become 3D reconstructions: The Temple of Zeus, ancient stadium, gymnasium, Palestra, Phidias Workshop, and more are shown as they may have appeared.
- The route is self-guided: A virtual map helps you move from one point to the next, with no large group and no fixed pace.
- The headset works best at the actual ruins: You match virtual buildings to the foundations and stones in front of you.
- The archaeological ticket costs extra: Budget $29 for the VR experience, plus €20 for site admission unless you qualify for free entry.
- Allow time for pickup and return: The office is across from the main church, about a five-minute walk from the ruins for many visitors.
- Bring identification: A passport, driving licence, or ID card is required as a deposit for the equipment.
Why VR helps at a site of broken stones
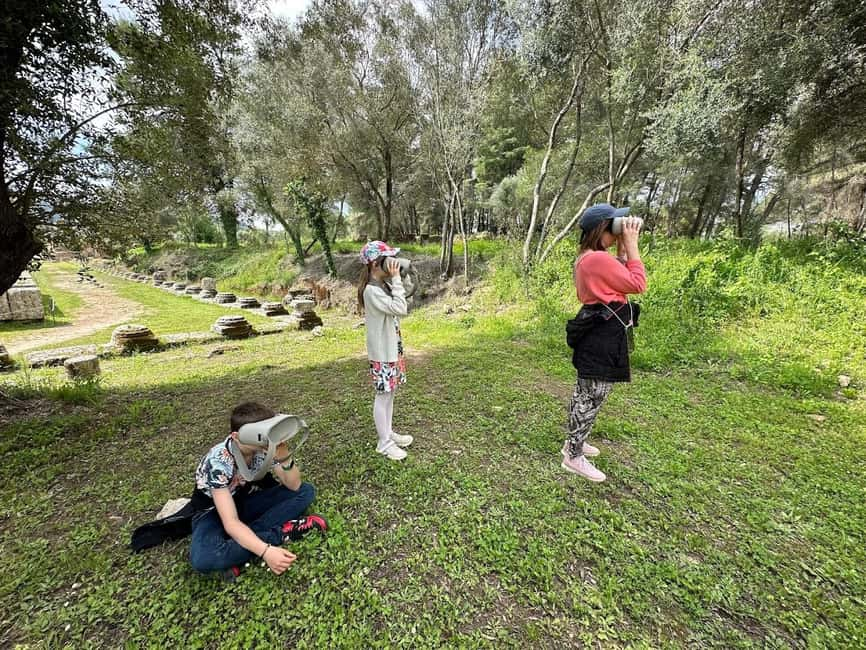
Ancient Olympia can be hard to read on your first visit. You walk past the remains of a temple, a workshop, or a training court, but the original scale is difficult to grasp. A few surviving stones rarely show how many people once gathered there or how the buildings related to one another.
The glasses solve that problem in a direct way. When you reach a marked location, the device overlays a reconstruction on the ruins. You can see walls, roofs, columns, decoration, and people using the space. The images are closer to video-game graphics than photographs, so you should not expect archaeological certainty in every visual detail. Still, the comparison between the real remains and the virtual version makes the site much easier to understand.
I find this especially useful at Olympia because the place was not just a stadium. It was a large religious and athletic center, with spaces for worship, training, workshops, water supply, and competition. The headset gives each area a job and a story.
The audio guide keeps the information short. That matters here. You are outside in the sun, moving between monuments, and trying to keep your bearings. Instead of listening to a long lecture at one stop, you get focused explanations that let you continue walking and looking.
More Audio Tours in Greece
- Athens: Acropolis Ticket with Optional Audio or Live Guide
★ 4.2 · 11,055 reviews - Athens: Cape Sounio & Poseidon Temple Trip with Audio Guide
★ 4.4 · 4,521 reviews - Athens: Acropolis Ticket with Audio Guide
★ 4.0 · 3,575 reviews
Starting at the Olympia Back in Time office
Your visit begins at the local office called Olympia Back in Time. The meeting point is across from the main church, and you can find it by typing Olympia back in time into Google Maps. The office is generally about a five-minute walk from the archaeological site entrance, though one practical account allowed closer to 20 minutes from a coach drop-off.
Do not cut this part too close. You need to collect the equipment, show your passport or identification, and listen to a short demonstration. The staff explains the headset, audio guide, and virtual map before you leave. This introduction is simple, but it saves time once you are among the ruins.
The equipment is supplied as a rental, and technical help is included. That is useful because the first few locations can feel confusing. One common issue is understanding which direction to walk when the device shows an arrow. Follow the blue arrow even if it does not seem to match the direction your body is facing. Give the image a moment to adjust.
The local team has also handled equipment problems quickly. A headset that needed to be restarted was replaced within minutes in one case. Another person found the instructions easy to follow after a short troubleshooting process. The technology is not flawless, but support is part of the package.
The Ancient Gymnasium and Palestra
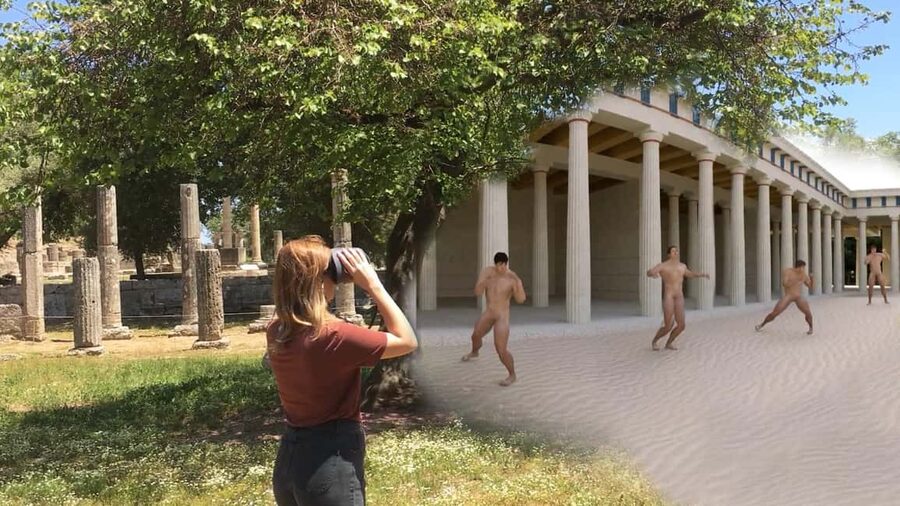
The first training areas help explain the physical side of the Olympic Games. At the Ancient Gymnasium, you see athletes preparing for competition. The reconstruction gives the open space a human purpose, making it easier to picture runners, wrestlers, and other competitors training before the crowds arrived.
The Palestra focuses on boxing and wrestling. These sports were not side attractions. They were serious contests that required practice, discipline, and conditioning. Seeing the training area populated with athletes helps you understand why Olympia needed more than a stadium.
These stops are a good test of how the system works. You locate the corresponding area, raise or position the headset, and watch the virtual scene line up with the physical remains. The GPS and map are designed to guide you, but the site itself is not always obvious. If the device seems uncertain, use the nearby signs and the physical arrangement of the ruins to confirm where you are.
The early stops may not feel as polished or immediately exciting as the Temple of Zeus or stadium sequence. Give yourself time to learn the controls. The experience becomes easier once you understand how the numbered locations and audio tracks fit together.
Phidias Workshop and the Statue of Zeus
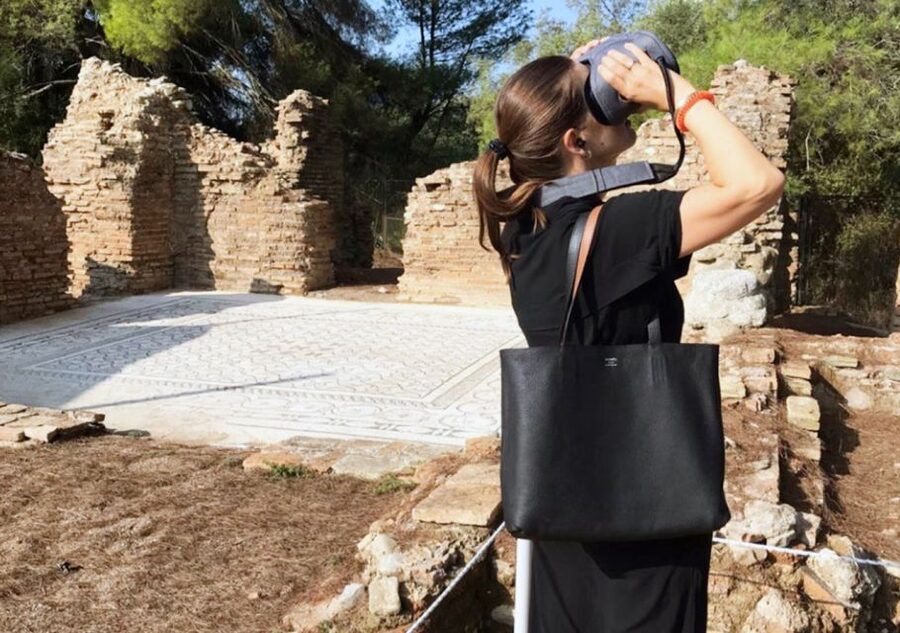
The Phidias Workshop is one of the most meaningful stops because it connects a surviving building with one of the ancient world’s most famous works of art. Here, the virtual presentation shows the place where the master craftsman created the Statue of Zeus.
The original statue is gone, so a conventional visit cannot show you its size or presence. The VR scene gives you a chance to see the workshop as an active place and to understand its connection with the Temple of Zeus. This is one of the moments when the technology adds information that the stones alone cannot provide.
The audio commentary is deliberately brief rather than academic. You get useful facts and short stories without being tied to a guide’s schedule. If you want a detailed archaeological lecture, this is not that kind of tour. If you want enough context to make sense of the site while still having time to look around, the format works well.
Another self-paced route in Greece:
- From Athens: Delphi Full Day V.R. Audio Guided Tour
★ 4.6 · 3,028 reviews - Athens: Acropolis Museum Ticket with optional Audio Guide
★ 4.4 · 2,652 reviews - Athens: Acropolis Ticket & Optional Self-Guided Audio Tours
★ 4.1 · 2,542 reviews - Parthenon & Acropolis Museum with Audio or Live Tour Option
★ 4.1 · 2,446 reviews
Entering the Temple of Zeus in virtual form
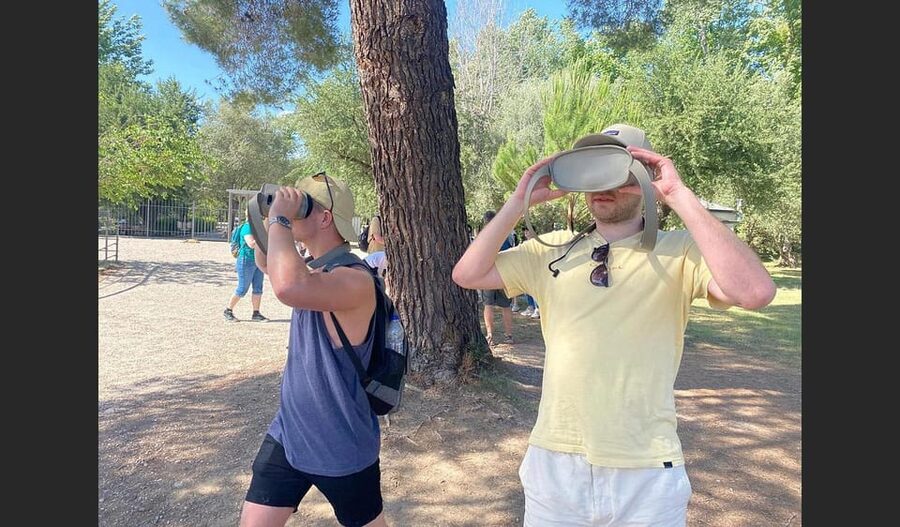
The Temple of Zeus is the visual centerpiece. The real remains give you a sense of the building’s footprint, but the glasses let you see its columns, walls, and interior rebuilt. You can virtually enter the temple and look at the great statue in its original setting.
This is where the $29 fee begins to make sense for many people. Without a reconstruction, you are left to imagine the roof, the height, the interior decoration, and the relationship between the statue and the worshippers. The headset supplies a visual answer to each question.
The presentation is not a substitute for standing among the genuine ruins. In fact, it works because the virtual view is anchored to the real site. You see the stones beneath or around the reconstruction, then remove the glasses and look at what remains. That contrast gives the visit its force.
Take a moment here instead of rushing to the next number. You can look from the angles offered by the device, listen to the audio, and take photographs once you have finished the virtual sequence. The system is designed for independent use, so you do not need to move on because a group is waiting.
The ancient stadium and the original Olympic Games
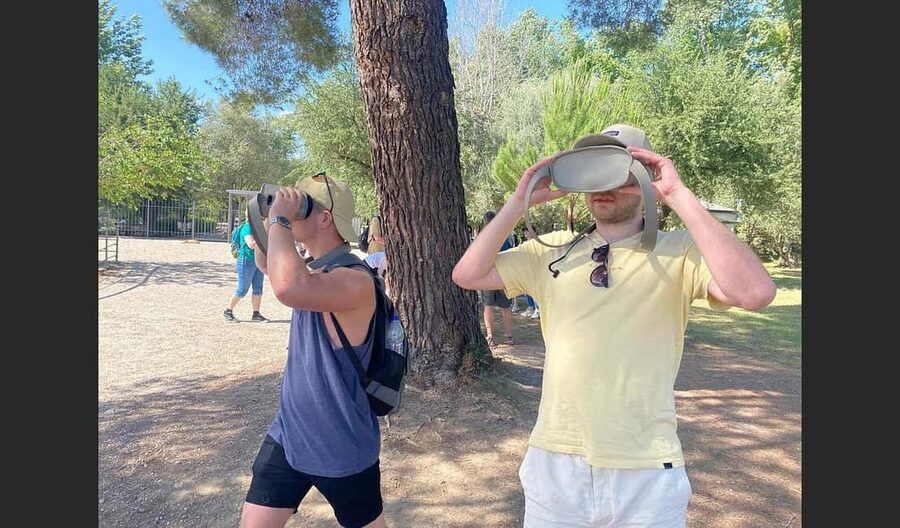
The stadium is the most entertaining stop, particularly for children. The VR scene turns the empty racing ground into a live event, with athletes competing and spectators watching. You can see the action from near the finish line and get a better sense of how the space functioned during the ancient games.
This sequence also corrects a common problem at archaeological sites. A stadium without people can look like a long strip of earth. With the reconstruction, you understand the scale of the race, the concentration of the competitors, and the attention of the crowd.
The audio adds cultural context, while the images supply movement. That combination keeps the stop from becoming a static picture. You still need to look carefully at the physical stadium, but the virtual event gives it a reason to exist.
Crowds can make headset use slightly awkward here and elsewhere. When you are looking through a screen, it is harder to notice people walking around you. Move slowly, keep aware of your surroundings, and use the device in quieter periods when possible. This is not a complaint about the content, just a practical safety point.
The Nymphaeum and the Olympic Flame
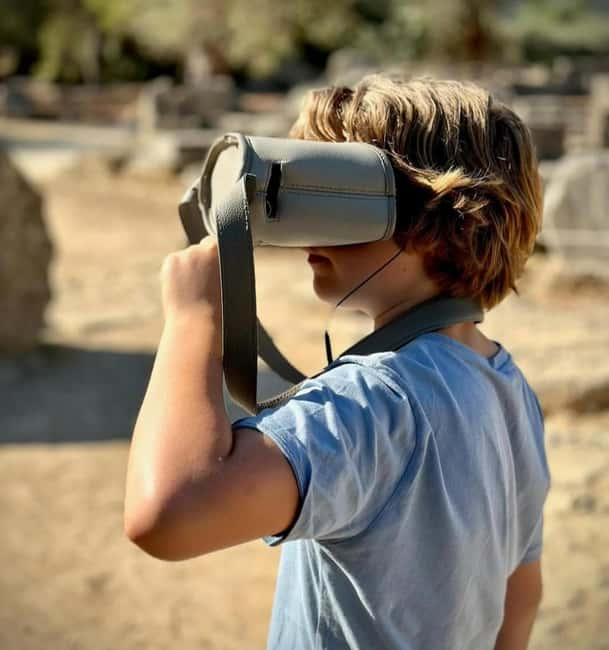
The Nymphaeum of Herodes Atticus shows that Olympia needed practical infrastructure as well as temples and sports grounds. The reconstructed fountain gives you an idea of its former appearance and explains its role in supplying water during the hot summer games.
That detail changes how you read the site. Thousands of people could gather for the competitions, and water was a basic need. The fountain was not simply decoration. It helped the sanctuary function during major events.
The final presentation covers the lighting of the Olympic Flame. It connects ancient Olympia with the ceremony people recognize today, while keeping the focus on this particular place. The sequence provides a fitting end to the route and gives you one last image to carry away after the buildings disappear from view.
How long you really need
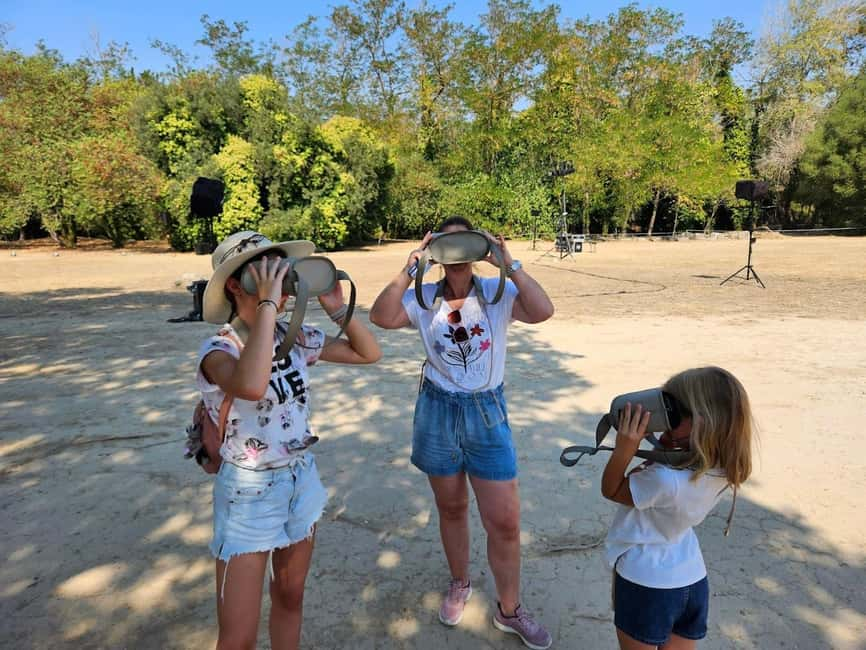
The advertised duration is two hours, but you should check the exact equipment return time when booking. Some arrangements provide a three-hour window, while other people have found that two hours is enough for the main outdoor route but not for every museum visit.
The archaeological site and the museums are separate parts of your day. If you want to use both museums, do not assume the headset rental automatically covers all of them. One practical approach is to visit the outdoor ruins first with the glasses, return the equipment, and then go back for the Museum of the History of the Olympic Games.
This order has another advantage. The outdoor site is where the VR adds the most. The museums already contain objects, displays, and labels, while the open-air ruins need the virtual rebuilding. If your schedule is tight, give priority to the archaeological area.
Allow extra time before your return transport. You may need to walk back to the office, hand over the equipment, and then continue to a bus, shuttle, or coach. Late arrivals of more than 45 minutes are canceled without a refund, so a careful timetable matters.
Price, admission, and overall value
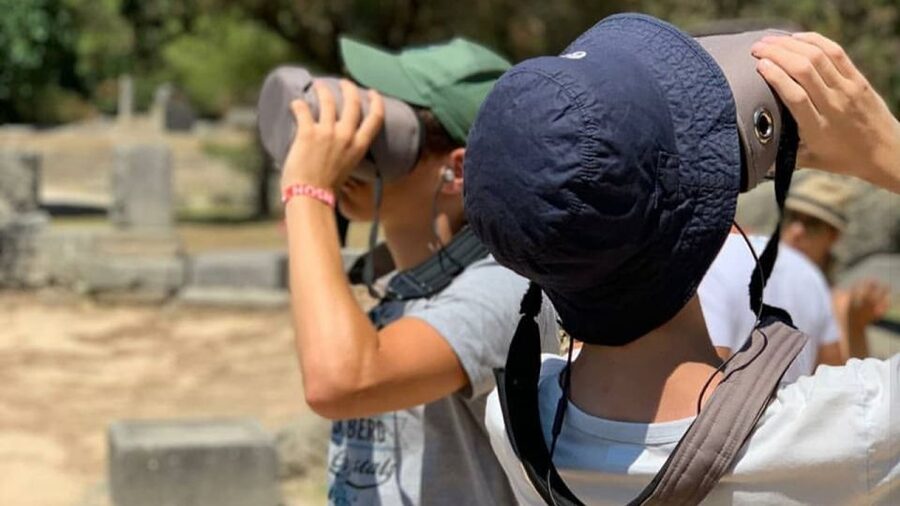
The experience costs $29 per person. The €20 entry ticket to Olympia is not included, although some younger visitors enter free: European Union visitors under 25 and non-European Union visitors under 18.
That makes the total cost higher than the headline figure, especially for a family. You should include the entrance fee when comparing this with a standard visit or a conventional guide. The price is easier to justify if you value visual explanation, want to explore independently, or are visiting with children who may lose interest in bare ruins.
You are paying for the headset rental, audio guide, virtual map, introductory demonstration, and technical support. You are not paying for a private archaeologist or a long live lecture. The content is concise, and the pace belongs to you.
For two people, sharing one device may be workable if you are comfortable taking turns, though each person will have a better view with their own set. The supplied information does not specify a separate discount for sharing, so ask the office or booking service before making that assumption.
The free cancellation period is 24 hours before the activity, and the reserve-now, pay-later option can help if your Peloponnese schedule is still shifting. Those policies are useful for a day trip, where transport plans can change.
Who will get the most from this visit
I would choose this for a first visit to Olympia, especially if you are not traveling with a specialist guide. It gives you enough structure to connect the gymnasium, workshop, temple, stadium, fountain, and flame ceremony without forcing you into a group timetable.
Families are a strong match. The animated athletes and restored buildings give children something to follow, and the short audio sections are easier to manage than a long formal talk. Teenagers who are comfortable with devices may find the format more engaging than reading every sign.
It also suits independent adults who prefer to stop, take photographs, and revisit a location. Several languages are available for both the instruction and audio guide: English, Dutch, French, German, Spanish, Italian, and Greek.
You may prefer a live guide if you want detailed discussion, questions answered on the spot, or a specialist’s interpretation of archaeological evidence. You should also think twice if you dislike wearing a headset, have limited time for the outdoor site, or expect photographic realism. The visuals are reconstructions, not documentary footage.
The activity is listed as wheelchair accessible, but the site remains an ancient archaeological area. If you have specific mobility needs, confirm the route and current access arrangements with the provider before booking.
Simple tips for a smoother visit
- Collect the glasses before entering the ruins, not after. You want the full rental period for the outdoor site.
- Bring comfortable shoes. The route involves walking between separate locations.
- Carry your passport, driving licence, or other accepted identification for the equipment deposit.
- Listen to the office demonstration carefully, especially the map and blue-arrow directions.
- If the GPS seems wrong, match the number on the device with the sign at the physical monument.
- Keep track of the return time, particularly if you are visiting from a cruise shuttle or organized coach.
- Leave the museums until after the VR route if your time is limited.
- Use the glasses carefully around other people, since the screen can reduce your awareness of movement nearby.
- Expect some devices to need a restart. Staff support is available, but reporting a problem promptly gives you more time to enjoy the route.
Should you book the Olympia VR tour?
Book it if you want Ancient Olympia to make visual sense. The Temple of Zeus, Phidias Workshop, and stadium are far easier to understand when you can compare the ruins with a moving reconstruction. The self-guided format is also a strong choice if you want photographs, pauses, and your own walking speed.
Skip it if you want a fully detailed live lecture or if your plan already gives you only a short stop. The separate €20 entry fee and the limited headset window matter, especially when you also want both museums.
For most first-time visitors, I would put this near the top of the Olympia options. Just collect the equipment early, follow the map patiently, and reserve enough time for the outdoor ruins before you worry about anything else.
FAQ
How much does the VR tour cost?
The experience costs $29 per person. Admission to the Ancient Olympia archaeological site costs an additional €20 unless you qualify for the stated free-entry categories.
Where do I collect the VR glasses?
Meet at the Olympia Back in Time office, across from the main church. Type Olympia back in time into Google Maps to locate it.
How long does the experience last?
The advertised duration is two hours. Check the exact starting and equipment return times because some arrangements provide a three-hour return window, and the available time may not cover the outdoor site plus both museums.
What monuments are included?
The route includes 15 monuments and locations, including the Ancient Gymnasium, Palestra, Phidias Workshop, Temple of Zeus, Ancient Stadium, Nymphaeum of Herodes Atticus, and the Olympic Flame ceremony.
What languages are available?
The instructor and audio guide options include Dutch, French, English, German, Spanish, Italian, and Greek.
What should I bring?
Bring comfortable shoes and a passport, driving licence, or ID card. Identification is required as a deposit for the equipment.
Latest audio tours in Greece
- The Palace of the Grand Master E-Ticket with Audio Tour★ 4.0 · 9 reviews
- Explore Lindos Acropolis in 3D & Audio★ 4.0 · 4 reviews
- The Palace of the Grand Master. Self-guided Audio Tour★ 3.5 · 15 reviews
- Acropolis of Lindos E-Ticket with Audio Tour on your Phone★ 4.5 · 8 reviews
- Olympia Archaeological Site & Museum E-Ticket with Audio Tour★ 4.0 · 11 reviews
- Mykonos: Find your (queer) god Self-Guided Audio Tour★ 4.0 · 2 reviews
- Meteora Smart Audio Guided Tour★ 4.5 · 9 reviews
- Meteora Full Day Tour from Kalabaka with Audio in 8 languages★ 5.0 · 2 reviews
Greece Audio Tours, compared.

Cape Sounio & Poseidon Temple Trip with Audio Guide
Read our review →
Acropolis Museum Ticket with optional Audio Guide
Read our review →
Acropolis Ticket & Optional Self-Guided Audio Tours
Read our review →
Parthenon & Acropolis Museum with Audio or Live Tour Option
Read our review →
Knossos Palace Entry Ticket with Optional Audio Guide
Read our review →Browse the lists this tour appears in